carrie

About Carrie Swain

This author has not yet filled in any details.
So far Carrie Swain has created 9 blog entries.

Want to Have Your Best Football Offseason Ever? Do This Right Now

The offseason is a vital time in a football player’s development. And sadly, many waste this time and leave gains on the table.

This article is going to cover, in general, how I believe a football player should approach their first 4-6 weeks following the end of their season. This is assuming the athlete doesn’t play a winter sport (I’d recommend they go out for track & field in the spring, but I digress).

This also assumes the athlete is not in any major pain or suffering from a major injury. If so, please see your doctor or medical staff before returning to training or sports.

Now that the boring disclaimers are out of the way, let’s talk business.

There are three main phases to the early offseason at the high school level. Phase 1 is all about recovery. Phase 2 is all about capacity. Phase 3 is all about the future.

Each phase is key for maximizing this pivotal time in your offseason and getting a leg up on the competition.

Although many football programs let their players take 4-8 weeks completely off after the end of the season before they return to training, valuable gains can be made before the new year if you approach it the right way!

Phase 1: Recover From the Football Season

First and foremost, get yourself back to 100 percent. I can’t stress this enough.

At the end of the season, you may be banged up—strained this, sprained that, you name it. It’s going to be extremely advantageous for you to get yourself healthy before you start crushing it again.

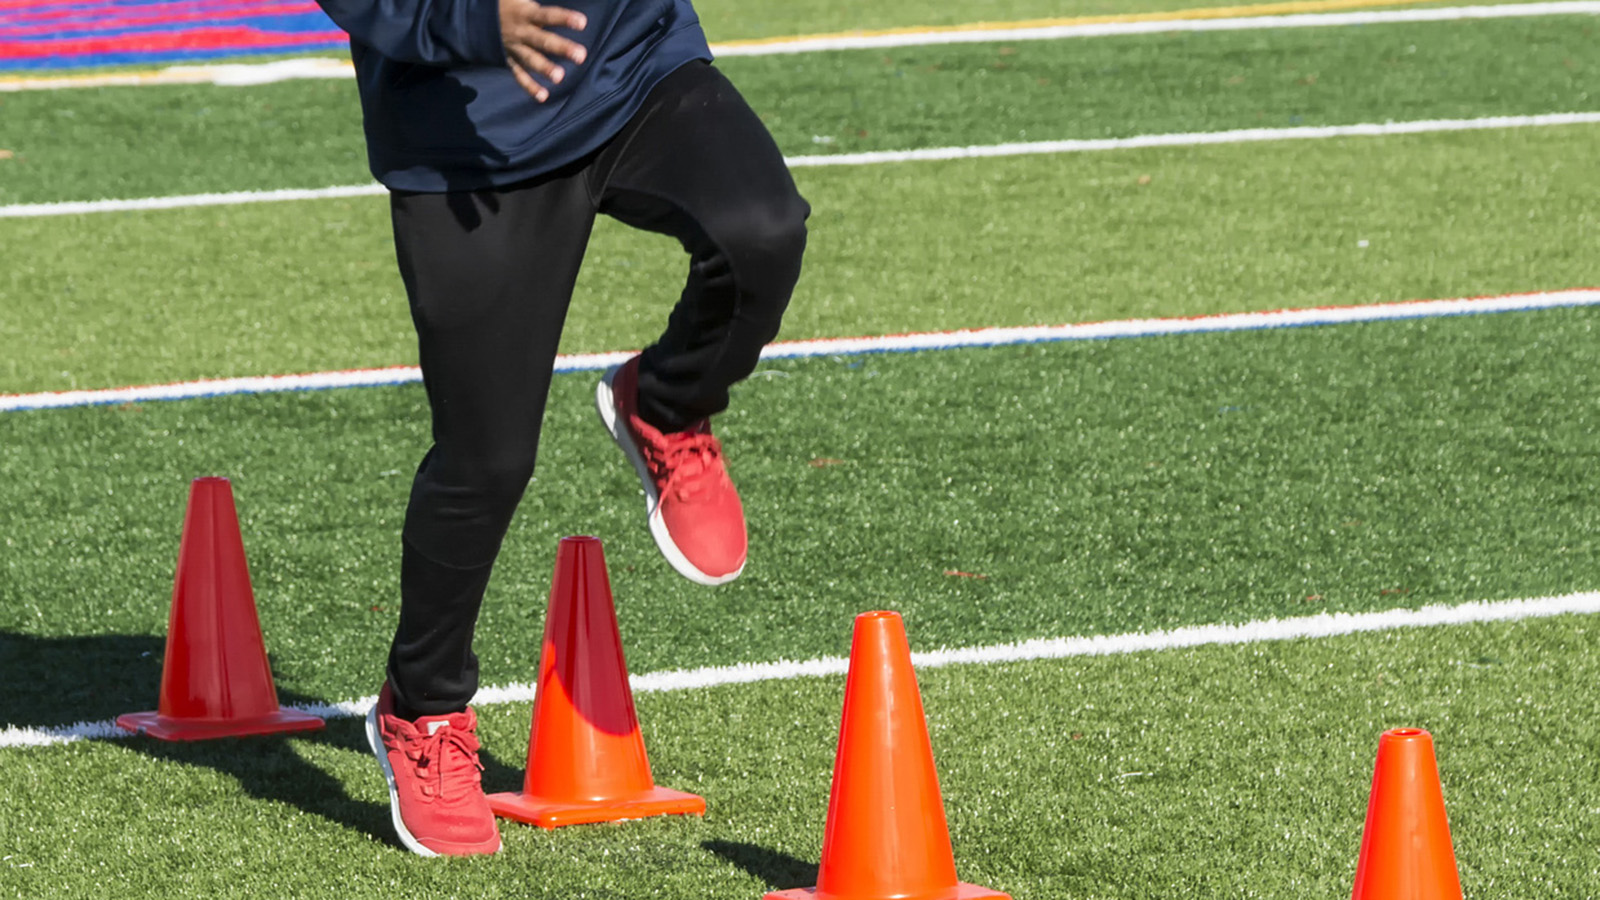
Getting healthy does not mean resting and being lazy. Movement is medicine. Sitting around doing nothing but resting, icing, compressing and elevating will probably delay your recovery time, so make sure you do any kind of movement you can to stay active.

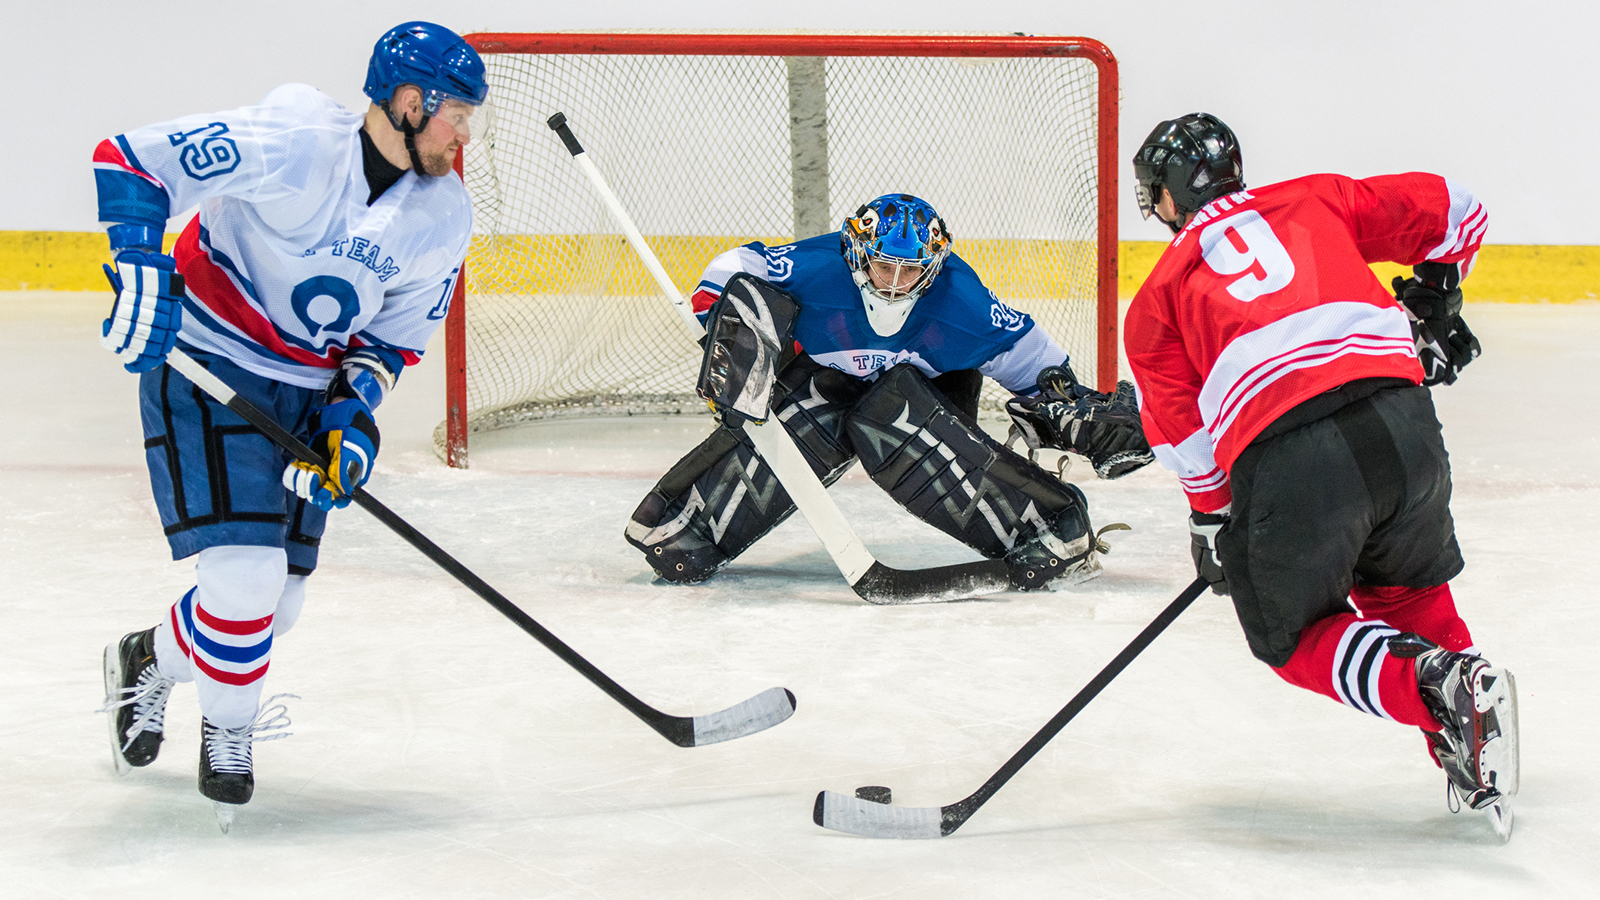
During this phase, you can focus on low-impact bodyweight movements, light conditioning work, technique enhancement and rehab protocols. And please, do not play football (not even 7-on-7) right now.

Something like the Isometric Circuit on Day 3 below might be great for you during the first three weeks of the offseason, as long-duration isometrics can help you get stronger and more resilient while putting little wear and tear on your body.


Phase 2: Offseason General Physical Preparedness

Once you’re feeling great, it’s time to prime your body for a long 6-8 months of training and development. It’s either November or December when your season ends, and the first game of next year is in August.

That’s so much time to get better.

Directly after Phase 1, I would recommend advancing to what’s called a GPP, or General Physical Preparedness, phase of training.

GPP is defined as a training period devoted to the general development of (but not limited to) conditioning, power, strength, skill, flexibility, endurance and structures. This phase lays the groundwork for more specific work that will soon be taken on.

There are four important aspects of a GPP phase, and checking all four boxes will set you so far ahead of the pack that it’s almost unfair.

  1. Improve Work Capacity: Are you prepared to play or train for a sport?
  2. Improve Movement Quality: Can you perform all needed training movements cleanly and pain-free?
  3. Increase Muscle Mass & Strength: Do you look and lift like an athlete?
  4. Neurological Training Adaptations: Are you truly progressing via training?

Here’s a sample GPP training program that can be performed three days a week for up to four weeks. If you put in this early work to build a foundation, you set yourself up to have a monster offseason.

Day 1: Push

A) Goblet Squat: 20, 15, 12 reps
B) Push-Ups: 20, 15, 12 reps (weighted, as needed)
C) Split Squat or Lateral Lunge: 3×10 reps per side
D) Half-Kneeling Landmine Press: 3×12 reps per side
D) YWT w/ Plate: 3×10 reps
E) Dead Bugs: 3×5 reps per side
F) Suitcase Carries: Accumulate 100 yards per side

Day 2: Pull

A) Barbell RDL: 12, 10, 8 reps
B) DB Row: 20, 15, 12 reps per side
C) Chin-Up or Lat Pulldown: 3×10-20 reps
D) Face Pull: 3×12 reps
E) Stability Ball Hamstring Curls: 3×12 reps
E) Copenhagen Plank: 3×30 seconds per side
F) Bear Crawls: Accumulate 100 yards

Day 3: Sled and Isometrics

A) Single-Leg Balance Iso Hold: Accumulate 2 minutes per leg
B) Split Squat Iso Hold: Accumulate 2 minutes per leg
C) Single-Leg RDL Iso Hold: Accumulate 2 minutes per leg
D) Calf Raise Iso Hold: 2 minutes
E) Push-Up Iso Hold: 1 minute
F) Chin-Up Iso Hold: 1 minute
G) Sled Drag or Sled Push EMOM: 20 yards every minute on the minute, for 20 minutes

Phase 3: Set Football OffSeason Training Goals

The third and final phase of the early offseason is to set yourself up for success for the remainder of the offseason.

At this point, you’re only 4-6 weeks in, and have 6-8 months left to prepare for the next year. This is the time to sit with your coaches, trainers and parents and truly map out what you want to get out of this off-season!

You’ve already taken the time to recover and build a strong foundation. Now, you’re in an excellent position to tackle bigger and better training goals. Many teams will resume regular training sessions in the new year, and if you enter that having completed these three phases, you’ll be positioned for massive success.

If you took a road trip without Google Maps, you’d get lost. Your career is a road trip. Your training is Google Maps.

Get a plan, execute it and dominate!

Original Article posted on stack.com

Get the Most Out of Your Winter Baseball Workouts

If you’re a baseball player who also plays a fall sport, you know how difficult it can be to transition to baseball training once your fall sport is over. Baseball has so many different physical demands that it takes most athletes weeks to get back into the training groove. Follow our three guidelines (below) to get the most out of your winter baseball workouts.

Rest

The first thing you will want to do as soon as your fall sport ends is relaxed. After going hard for months, your body needs plenty of time to recover. Take a week or two off to heal aches and pains before resuming strength training in the first week of January. If you start your winter baseball workouts early next month, you’ll be fresh, ready to give yourself a few solid months of strength training before practice starts.

Core Work

Core work is vital to increasing your baseball power. Start your winter baseball workout with core training, such as Planks and a rotation exercise like the Side Med Ball Toss. Move on to legs with a combination of Squats and Lunges, then work through upper-body push/pull exercises. Wrap up the workout with rotator cuff exercises.

Put it together, and here’s your winter baseball workout:

  • Plank (Lift up one leg for a challenge) — 3×30 seconds
  • Side Med Ball Toss — 3×10 in each direction
  • Squat — 3×6-8
  • Lunges — 3×6-8
  • Dumbbell Bench Press (Perform on stability ball to work core more) — 3×6-8
  • Pull-Ups — 3×6-8
  • Rotator Cuff Circuit — 3×10

Progression

In the first week, perform three sets of six to eight reps each to reintroduce your body to lifting. Add two more reps in your second week, then move on to 12 reps per set for the third and fourth weeks. After the first month, drop two reps but increase weight. Keep dropping reps and adding weight every two to three weeks until you’re at six reps per set again (see below for a detailed breakdown).

  • 3×6-8
  • 3×8-10
  • 3×12
  • 3×10
  • 3×8
  • 3×6

By following this pattern, you’ll lower your risk of injury while conditioning your body for peak performance just in time for baseball season.

Original Article Posted on stack.com

Tips for Training Hockey Players

The top six tips that you need to know and practice to become an elite hockey trainer who gets the best results for all of the hockey players who comes your way.

The world of hockey training is continuing to grow at a fast rate, and this is a great thing because we are all learning more about how to properly train hockey athletes every single day.

Coaches and parents are respecting how big of an impact the dryland training you perform within your program has on your on-ice skating speed, conditioning, agility, and overall performance.

How you perform on the ice has everything to do with how well you prepare off the ice. The hockey coaches handbook has many tricks, tips, and strategies in it, but here are my top five tips to take your coaching to an elite level.

#1: Meet Them Where They Need To Be Met

The world of social media has given many people access to example exercises and workouts from professional hockey players who are at the highest possible level in terms of training stimulus and predictable adaptation.

You will see things such as:

  • Sidney Crosby’s leg exercise will blow your mind!
  • Check out Patrick Kane’s new stickhandling drill!
  • Use Ovechkin’s explosive speed workout!

Among many other examples, you could see floating around every day.

These clickbait approaches work well to gather traffic, but it’s not something real coaches should fall for. Instead, real coaches understand that you need to meet the athlete where they are ready to be met.

Advanced workouts for a beginner or intermediate trainee will not get them to their end goal quicker, and honestly, it normally slows down the process and puts them at an unnecessary risk for injury.

Always remember that what the elite athletes are doing today with their training does not represent the protocols they followed in order to get them to where they’re at. Read that three times.

#2: Understand Real Sport Specific Training for Hockey

Strength is a physical quality that is very specific, meaning the gains in strength seen in an exercise that you’re doing are always greatest in that specific exercise.

So, even though strength does transfer to other movements (for example, a squat improves your jump height), the movement you did in the first place will always receive the most strength gain (you will gain more in the squat than you will in the jump).

The degree to which you see an athletic movement improve after making strength gains with a “gym exercise” is what we would call strength transfer. Although the more popular term for this phrase is “sport-specific training.”

Strength transfer depends a lot on the similarity of exercises and movements across all of the ways strength can transfer, and not just the movement pattern.

However, since the movement pattern is the easiest to see, this tends to get talked about the most, and therefore, replicated the most through embarrassingly “specific” hockey functioning training.


For example, tying a stick to a cable tower and doing resisted wrist shots couldn’t be more ridiculous and useless for hockey players, yet the movement pattern appears similar, so it is easy to sell on its supposed transferability to an on-ice setting.

When the term “functional training” started gaining massive popularity, strength coaches stopped talking about how to figure out which exercises transferred best to hockey because it was assumed that the movement pattern was the only thing that mattered.

Don’t get me wrong, movement pattern plays a role in transferability, but it doesn’t play the only role.

Within the framework of utilizing sport-specific exercises for hockey, there are eight different ways in which you can choose an exercise that is going to be predictably beneficial for hockey performance:

  1. Contraction emphasis (eccentric vs. concentric)
  2. Velocity
  3. Joint angle
  4. Time under tension
  5. Stability of working structure(s) during movement
  6. External load stimulus (weight, band, medicine ball, etc.)
  7. Vector
  8. Targeted muscle groups and energy systems

When you break that list down, you can begin to take the “movement pattern” blinders off and instead analyze the exercise that you’re using and to what degree it’s going to transfer to a game setting.

This is real sport-specific training and represents why so many excellent exercises for hockey performance don’t actually look like the sport at all (pull-ups, anti-rotation core work, squats, deadlifts, etc.)

#3: Understand Hockey Periodization

The problem with a lot of hockey coaches’ programming is how often they get trapped in the world of pin-balling. By pin-balling, I am referring to bouncing from one program to the next with really no methodical approach to a long-term end result. It is moving from one cool-looking hockey training program to the next or one magazine hockey workout to the next. They sound like they match your goals, but does the “big picture” of your long-term periodization strategy make any logical and progressive sense overtime to get the desired end result?

Every phase should always build upon the phase previous to it in some way, shape, or form. Anything less becomes a situation where you are exercising but not training. The general population can exercise for health purposes, sure. But, athletes need to train to get a specific and desired end result, and this training must be sequenced in a way that manages fatigue and peaks performance.

Pin-balling is totally fine for the general population. The general population can do whatever they want. If they’re just there to get a health benefit and exercise, they need-not the yearly periodized training structure of somebody who wants maximum results.

This is the real difference between exercising and training. If you’re an athlete or somebody looking to push your limits, your long-term sequenced periodization structure should be sound and good to go with laid out goals for each phase that make sense both where they are placed in the year’s schedule, but also to how it is going to transfer to your ultimate goal.

One phase building upon the next using the scientific principles of sports training, one brick being laid at a time. You can look at doing random program designs throughout the year, like building your own car from the junkyard. You have to go out and get different pieces from different models, and in the end, you might actually get the engine to run. Now compare that to a Rolls Royce made entirely in-house by hand with premium parts using a predetermined plan for the structure.

Who’s going to perform better in the end, get to structure completion without any plateaus, and get to their end result faster? The Franken-car that was put together randomly from random scraps, or the methodically designed Rolls Royce? The Rolls Royce will win ten times out of ten, just like a periodized yearly structure for hockey players who control volume, intensity, and frequency appropriately across the in-season, post-season, off-season, and pre-season. Build your entire year of training, leave the pin-balling for the amateurs.

#4: Build Your Skills, Not Your Tools

Hockey training program design is a skill, and you can’t buy skill no matter how expensive your equipment is.

Think about a carpenter and how he/she is skilled in the art of carpentry. They can build and fix a wide variety of things because they are skilled carpenters. If they need a hammer, they get a hammer. If they need a screwdriver, they use a screwdriver. A tool is only ever as good as it can be applied, and every carpenter knows this. This is where our industry gets things totally wrong. You will never see a carpenter get certified in the screwdriver or certified in using a hammer. That sounds silly; instead, he is just certified as a carpenter and then uses the tools at his disposal as he/she sees fit to get the job done in an efficient way. Yet, in our industry, you will see people get certified in the kettlebell, or certified in the medicine ball, or certified in using bands/chains. This is bizarre and completely backward because when the only tool you have is a hammer, everything looks like a nail.

The coach who is certified in a specific tool will try to apply it where it is not optimally applicable, and the only one who suffers is the hockey player who is stuck running the dumb training program that was prescribed to them. Hockey training program design is a skill that is founded on understanding the principles and variables of training. No new “hockey-specific” exercise equipment will ever replace that.

#5: Effective Communication

It’s not always about being informative. It’s about being effective.

You may be the smartest programmer and skills coach in the world, but in order to create change in your team or change in your athlete, they need to be picking up what you’re putting down in a way that truly resonates with them.

  • “Krebs cycle metabolic pathways”… how about just energy?
  • “Meeting the leucine threshold”… how about just “Go eat 4oz of chicken.”
  • “Oxidative phosphorylation”… how about just fat burning?
  • “Body composition alteration”… how about just muscular and lean?

I am super grateful for all of the people that have enjoyed my podcasts, videos, and articles. The feedback I most often receive has nothing to do with the complicated science and has everything to do with these two factors:

  1. They say I explain things in a way they could understand.
  2. They say I provided actionable items that they felt comfortable and confident using.

Information is not an impressive coaching characteristic if you can’t communicate it clearly. Clarity brings actions. Complexity brings confusion. This is what separates “programmers” from real coaches.

Clear communication always beats trying to sound smart, and sounding smart doesn’t mean you’re an effective coach.

Original Article Posted on stack.com

By |February 17th, 2021|Hockey|0 Comments

Hockey Players: 4 Secrets to Shoot More Accurately

If you have been struggling to get your shot feeling right, there may be a reason. Information on the internet is split between coaches who teach shooting technique that was useful with the old wooden sticks, and new coaches who understand how to shoot with the technology in sticks today. With today’s sticks, it is more possible than ever to have a wicked snapshot, wrist shot or slapshot. But if you don’t know the new science of proper shooting form for hockey, you might be left in the dark. So let’s take a look at it.

First Secret: Stick Flex

You might be missing out on the full potential of your shot if you aren’t making use of your stick flex. Today’s sticks are built to flex and whip the puck. Imagine a bow and arrow where the puck is released from the end of the bow instead of the arrow being released in the middle. The best way to create this whip effect is to pull the puck in with the toe of your stick while leaning on your stick to generate the torque necessary to create the bow-and-arrow effect.

The wrist shot, snapshot and slapshot all use stick flex. The backhand is the only shot that does not use it.

Second Secret: How Hockey Is Like Tennis

Old coaches taught only one stance to shoot the puck. Today’s coaches understand that players must adjust their stance depending on the situation. Much like tennis players have both an open-stance and closed-stance forehand, hockey players can shoot from an open stance or a closed stance. An open-stance shot is generally shot on one leg, the one closest to the puck. A closed-stance shot is generally shot on two legs and involves a weight transfer.

No stance is right or wrong. Closed stance allows you to generate more power, while open stance allows for a quicker release. Open-stance shots tend to be classified as snapshots, and closed-stance shots tend to be classified as wrist shots. Backhand shots are almost always shot with two feet on the ice. Otherwise, it is simply too hard to generate any power whatsoever.

Third Secret: Sequence Your Way to Shot Power

If you think you’re doing everything right but just don’t feel a “connection” during your shots, this secret is likely the most important for you. This is not new, but it does require clarification.

In a classic wrist shot from a closed stance, the player-generated power from the legs, shifted his or her weight from the back to the front leg, twisted the hips, felt tension through the core, turned the shoulders, moved the arms toward the net, and then rolled the wrists over. This is still true, but today’s players must lean on and flex their stick while generating power with their legs and twisting through their hips. Today’s players also use the open-stance snapshot. This does not have a weight transfer, but the player must still follow the sequence of generating power from the ground while putting torque on the stick, twisting through the  hips, feeling tension through the core, moving the shoulders and arms, then the wrists. The backhand must also respect the sequence but, as mentioned above, does not use stick flex.

Players who are trying really hard to shoot the puck but aren’t getting any power are probably using too much of their arms, or they have too much upper-body lean and don’t feel the transfer of tension through their hips and core from their legs. Study the sequence of baseball players and golfers to help you get the idea. Better yet, practice those sports too!

Fourth Secret: Basic “Operating System”

Isn’t it fascinating that sometimes ignoring a coach can make you better? Sometimes, a coach gives you well-meaning advice that simply doesn’t work for you. So although I am giving you general guidelines, you should experiment with how moving your body in different ways feels. Usually, you should have a slight knee bend, your butt should be back, and your torso should have a slight forward angle. Your hands should be able to move freely so you don’t have to lean your torso too much. These are the basics, but you need to feel the movement yourself.

Original Article Posted on stack.com

By |February 11th, 2021|Hockey|0 Comments

Cone Drills for Football Speed

Before you start, make sure to warm up with several static and dynamic stretching exercises. I recommend performing the cone drills at least two to three times a week.

5-Cone Drill

Reps: 3 (two to three minutes rest between reps)

Set-up: Place four cones in a box shape, five yards apart, and place a fifth cone in the middle.

  • Start at the bottom right cone in a 3-point stance
  • Sprint to the middle cone
  • Go around and sprint to the top right cone
  • Go around and sprint to the top left cone
  • Go around and sprint to the middle cone
  • Go around and sprint to the bottom left cone
  • Run under control, stay low and keep your head up

6-Cone Drill

Reps: 3 (two to three minutes rest between reps)

Set-up: Place six cones in a straight line five yards apart.

  • Start at the first cone in a 3- point stance
  • Sprint as fast you can to the second cone
  • Back pedal to the first cone
  • Sprint to the third cone
  • Repeat until you sprint to each cone
  • Run under control, stay low and keep your head up

4-Cone Drill

Reps: 3 (two to three minutes rest between reps)

Set-Up: Place four cones in a box shape five yards apart.

  • Start at the bottom right cone in a 3-point  stance
  • Sprint to the top right cone
  • Go around and sprint diagonally to the bottom left cone
  • Go around and sprint to the top left cone
  • Go around and sprint diagonally to the bottom right cone
  • Run under control, stay low and keep your head up

Original article posted on stack.com

Indoor Baseball Infield Drills

If you live in an area where winter forces baseball practice inside, you need quality indoor drills to improve as a player and infielder.

When I coached two of the top junior college programs in the country—one in Illinois and the other in Kentucky—we had only a very small indoor practice area. We played our first game in February, so we had to find creative ways to get our players ready.

Here are some of the drills I found to work well for our players.

Wall Ball

Kids love this game. It’s fun, but also quite effective. Players throw the ball against a wall from about 10 to 15 feet away. If someone touches the ball but does not field it cleanly, he must sprint to the wall and touch it before someone else throws the ball and hits the wall.

If the player who bobbled the ball cannot touch the wall before the next throw hits the wall, he has an out. After three outs, a player must sit. If you want more action, don’t worry about outs and let players stay in the game.

This game is very fast if played correctly. It works on quick reactions, soft hands, throwing and athletic ability.

This game works well with three to five players. If you have more than five, create a different game. Use a tennis ball and bare hands, not a glove.

Pre-Prep Drills

We ran these drills every day, and they had an immediate impact. They only take five to seven minutes. These drills improve focus on fundamentals and teach muscle memory.

Knee drills. Without a glove, sit up straight on both knees about 5 to 7 feet away from a partner. Roll the ball directly to the middle of your partner’s body. The fielders work on having their fingers down, their wrists loose and bringing the ball up quickly to the throwing area of the shoulder.

Progress to rolling the ball to the forehand side and then the backhand side. Keep the focus on loose hands and being athletic.

Standing drills. Do the same as the Knee Drills, but while standing. Back up to about 15 feet away from each other. Focus on footwork, staying low, holding your glove out, and keeping your head down on the ball while fielding. The focus should be on footwork and quickly getting into a good position to throw.

Quick Exchange Throwing. If you have enough room to throw, work on quick exchanges. Get the ball out of your glove as quickly as possible and get into a good throwing position, with your shoulders squared toward the target. Relax and set up for a normal throw. Focus on getting the ball out of your glove quickly and squaring your body to the target, not throwing back quickly. This helps with relays and turning double plays.

4-Corner Flips. Have four infielders stand in a square about 5 to 7 feet away from each other. Roll a ground ball to the fielder directly across from you. He fields it and flips the ball underhand to the player to his left.

Good footwork is integral to performing these drills. It will allow your players to field the ball consistently and make quality throws.

Original article featured on stack.com

Busting 3 Myths About Training Baseball Players

There always seems to be rhetoric that strongly pushes one idea while totally denouncing another. This usually comes in the form of “always do this” or “never do that.” With training, and more specifically training a special population like baseball players, there are far too many variables to speak in absolutes. When these ideas are taken too far in one direction, we get the birth of myths, and while some of these may be well intended, they often end up misinforming people. With that in mind, here are three myths about training baseball players.

1. You Should Never, Ever Lift Overhead

Baseball is an overhead sport, so to say you should never do anything overhead is kind of like telling a 100-meter Hurdler they should never practice jumping. Are there times when baseball players should avoid going overhead? Absolutely. Examples include:

  • If pain is present while going overhead
  • If they cant safely do it with good form
  • If throwing volume is very high, and you want be cautious about total overhead volume

Where I think we go wrong is how we define lifting overhead. When we prescribe overhead movements, they do not have to be your typical overhead press. For baseball guys, it’s important they get strong over head. But what’s even more important is that they have good body mechanics when going over head.

Here are some things to be cognizant of when performing overhead movements:

  • Does the scapula upwardly rotate and have posterior tilt?
  • Does they glenohumeral joint stay centered?
  • Do the ribs stay down and lumbar spine stay neutral?

Here’s a progression model from Eric Cressey that will allow for safe overhead movement, moving from safest to more advanced:

Yoga Push-Ups->Bottoms-Up Kettlebell Carry->Landmine Press->Bottoms-Up Kettlebell Press->Dumbbell Overhead Press->Barbell Press

As you can see from this model, all overhead movements are not created equal. Start at a place that best fits you or your athlete’s needs. When in doubt, go with the safer movement and work up from there. It’s important to remember all lifting can be dangerous if prescribed wrong, and overhead lifting is no different. But to say that baseball players should never, ever lift overhead is a myth that needs to die.

2. Lifting Weights Will Make You ‘Tight’

This is something I feel like almost all sports have gone through at one point or another. Basketball, baseball, soccer, gymnastics–athletes and coaches from each of these respected sports have shared their concerns and fears of lifting weights, feeling weight training will make them tight, bulky and unable to perform as desired in their respective sport.

But as many baseball players who’ve improved their game in the weight room will tell you, that fear is unfounded. And the research backs them up.

If lifting weights really makes you tight, bulky, slower, less flexible or all of the above, chances are you are doing the wrong exercises or using the wrong form. I think the narrative of “lifting makes you tight” comes from the notion that all lifting looks like body building. If you train like a bodybuilder, you will move like a bodybuilder. Perform lifts and movements that increase range of motion, athleticism and functional strength, and you won’t have to worry about being “tight.” And in the long-run, you’ll be dominating any competition who’s afraid to step foot in the weight room.

3. Baseball Players Only Need Power in the Frontal Plane

From Olympic lifts to Squats to Box Jumps, power development can be achieved through several methods. But baseball is a bit different than other sports. Like other sports, baseball requires power. However, it requires it both in the frontal and transverse planes. In other words, you better be powerful laterally and not just in a straight line if you want to be successful. A Single-Leg Lateral Hop would be a better indicator of baseball-specific power then a great Vertical Jump, just as being able to perform a Rotational Med Ball Scoop Toss with power is a better way to measure your training success than a max Bench Press.

Here are several exercises that can help baseball players develop that all-important transversal plane power:

  • Heidens
  • Single-Leg Lateral Hops
  • Medball Throwing Variations
  • Lateral Walking Sled Drags

Power can be a great tool for any athlete, but that power must be able to translate to the game to be useful. For baseball players, that means power must be developed in both the frontal and transverse planes.

Hopefully, this article has cleared up a few myths that have long surrounded training and baseball players. When training to improve baseball performance, remember that it’s OK to train overhead, lifting has been shown to make you more flexible, and power development needs to be done with lateral movements in mind. Train smart, train properly and don’t let a myth prevent you from becoming a better ballplayer.

Original article posted on stack.com

How to Properly Recover After Your Baseball Season

For many baseball players, fall marks the end of a very long season. College players have been playing since February. High school and youth players, since March. Some players will not play competitively again until next spring, while others have three or four weeks off before fall teams or college fall practices start-up.

During this break, there are two things you can do to improve your recovery and set the stage for better performance and lower injury risk.

1. Take time away from baseball

As much as you love playing baseball, time away is essential, both mentally and physically. Physically, baseball is a frontal (side-to-side) and transverse (rotational) plane-dominated game. Throwing and hitting, the two most common activities in the game, are examples of frontal and transverse movements. In addition, almost every movement in baseball is an explosive, powerful movement. Over the course of a six- to the seven-month season, countless throws, swings and sprints can take a toll on the body and lead to injury.

Give the body time to recover from this volume of work.

  • Avoid frontal plane movement such as Side Lunges, Heidens, Shuffles, etc.
  • Avoid rotational work, such as Medicine Ball Throws, and limit hitting.
  • Limit plyometrics and sprint work.
  • Put the bat down and take a break from hitting.
  • Take time away from throwing, especially pitchers.

Baseball pitching, especially, puts a tremendous amount of stress on the entire body, especially the shoulder and elbow.

The number one risk factor in a throwing-related injury is pitching too much. Among many other statistics, they state that pitching more than 8 months a year can lead to an increased risk of serious elbow or shoulder injury.

2. Restore your body

Given the repetitive nature of baseball, you risk overusing many areas of the body and losing mobility and stability over the course of the season. This is especially true of throwing.

In the pitching motion, the humerus internally rotates at over 6,000 degrees per second, and certain muscle groups work hard on every throw to slow the arm down. So by the end of the season, some parts of the body are pretty beat up, including the posterior (back), shoulder, biceps, and medial (inside) elbow.

In addition to the muscles that help slow down the arm, the muscles that help accelerate or internally rotate the arm—the lats and pecs—can show a loss of mobility over the course of the season. Restoring proper tissue quality in these areas can decrease injury risk in the throwing arm.

Finally, the lower body can take a beating during the season. Spend some time foam rolling the adductors (inner thighs) and quads to allow for proper lower-body function.

Use this foam-rolling circuit to restore normal tissue quality in these areas.

Spend 1-2 minutes on each area:

  • Lats (foam roller)
  • Quads (foam roller)
  • Adductors (foam roller)
  • Pecs (lacrosse ball under collar bone)
  • Biceps (lacrosse ball along the length of muscle)
  • Inside of Forearm (lacrosse ball on forearm)

Original story posted on stack.com